- Subscribe to RSS Feed
- Mark Topic as New
- Mark Topic as Read
- Float this Topic for Current User
- Bookmark
- Subscribe
- Mute
- Printer Friendly Page
2 Arduino, I2C and Pwm example
03-19-2013 04:51 PM
- Mark as New
- Bookmark
- Subscribe
- Mute
- Subscribe to RSS Feed
- Permalink
- Report to a Moderator
Hi,
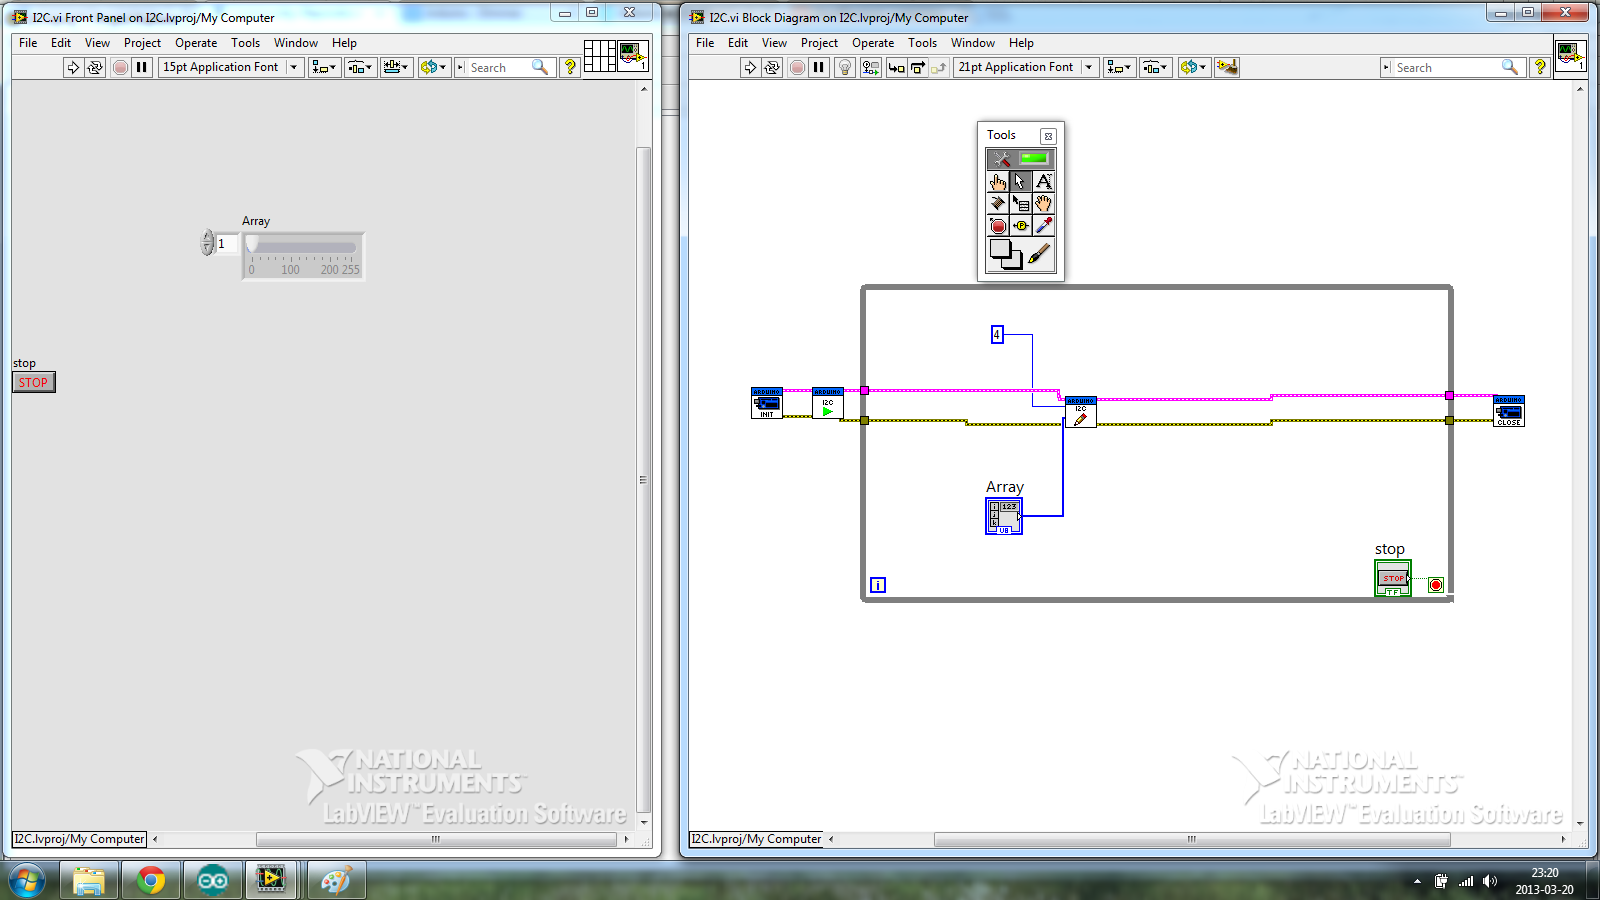
I have searched online for some basic example on I2C communcation between Labview and Arduino. So I have my Arduino Uno connected to the Pc(usb, Master I2C) and I have another Arduino Uno (Slave I2C)connected to the first Arduino by I2C communication. From the Labview panel , I want to dim a led connected to the second Arduino(Slave I2C) .
I was able to dim a light using the Arduino AnalogWrite and 1 Arduino Uno. But with I2C, I don't really get the I2C Write Pin "I2C Data Bytes" . The Data type is 1-D of Array of Bytes unsigned byte 8-bit integer (0-255). I want to send data from a dimmer(in Labview) to the I2C Data Bytes pin.
Any Labview example I could find on this site ? or just tell where to look in order to understand how it's work (read about Visa function, look a this website, whatever ) ? Thank you
Here is the code for the Arduino Slave I2C:
#include <Wire.h>
int IWire1 =0;
int OLight1= 9;
void setup()
{
Wire.begin(4); // join i2c bus with address #4
Wire.onReceive(receiveEvent); // register event
}
void loop()
{
delay(100);
}
// function that executes whenever data is received from master
// this function is registered as an event, see setup()
void receiveEvent(int howMany)
{
while(1 < Wire.available()) // loop through all but the last
{
IWire1 = Wire.read();
analogWrite(OLight1, IWire1);
}
}
03-19-2013 09:17 PM
- Mark as New
- Bookmark
- Subscribe
- Mute
- Subscribe to RSS Feed
- Permalink
- Report to a Moderator
ok I think that I need to create an array and place a numeric scroll bar inside...1 dimension array...
03-19-2013 09:34 PM
- Mark as New
- Bookmark
- Subscribe
- Mute
- Subscribe to RSS Feed
- Permalink
- Report to a Moderator
Are you sure the I2C slave is working correctly?
If yes, then to send an array of U8's, you just wire the array of U8's to the "I2C Data Bytes" terminal of "I2C Write.vi".
03-20-2013 08:50 AM
- Mark as New
- Bookmark
- Subscribe
- Mute
- Subscribe to RSS Feed
- Permalink
- Report to a Moderator
Playagood,
I2C transmits data 8 bits (one byte) at a time and can transfer an arbitrary number of bytes per 'transaction' (hence the u8 array).
You can setup a slider or similar control in LV that provides a U8 output (or simply divide the output to scale it to 0-255). Then use the I2C write VI to send the single byte representing the brightness level to the second arduino.
Let us know if this helps.
-Sam K
LIFA Developer
03-20-2013 10:22 PM
- Mark as New
- Bookmark
- Subscribe
- Mute
- Subscribe to RSS Feed
- Permalink
- Report to a Moderator
Ok, so now I get a response from the second Arduino. When I start my I2C Labview program, the led light on. Then, when I try to dim the light, the led turn off and then turn back on. From this point, nothing happens when I dim the light. (Also, I get an error when I try to stop the program. Labview doesn't find the Arduino anymore. I need to unplug and run it again).
I trying to make a very simple sketch in order to understand to concept. So , now the problem might also be with my Arduino code.
Arduino Slave Code:
#include <Wire.h>
byte IWire1 =0;
int OLight1= 9;
void setup()
{
Wire.begin(4); // join i2c bus with address #4
Wire.onReceive(receiveEvent); // register event
pinMode(OLight1, OUTPUT);
}
void loop()
{
delay(100);
}
void receiveEvent(int howMany)
{
IWire1 = Wire.read();
analogWrite(OLight1, IWire1);
}
03-20-2013 10:57 PM
- Mark as New
- Bookmark
- Subscribe
- Mute
- Subscribe to RSS Feed
- Permalink
- Report to a Moderator
Ok, I got it, here is an Arduino Code that works for me. It is not perfect, the led light dim from low to high but the led become suddently very bright at the end to the dimmer(from 247 to 255, it light become 50% more brighter). Any idea?
#include <Wire.h>
byte IWire1 =0;
int OLight1= 9;
void setup()
{
Wire.begin(4); // join i2c bus with address #4
Wire.onReceive(receiveEvent); // register event
pinMode(OLight1, OUTPUT);
}
void loop()
{
analogWrite(OLight1, IWire1);
}
void receiveEvent(int howMany)
{
IWire1 = Wire.read();
}
